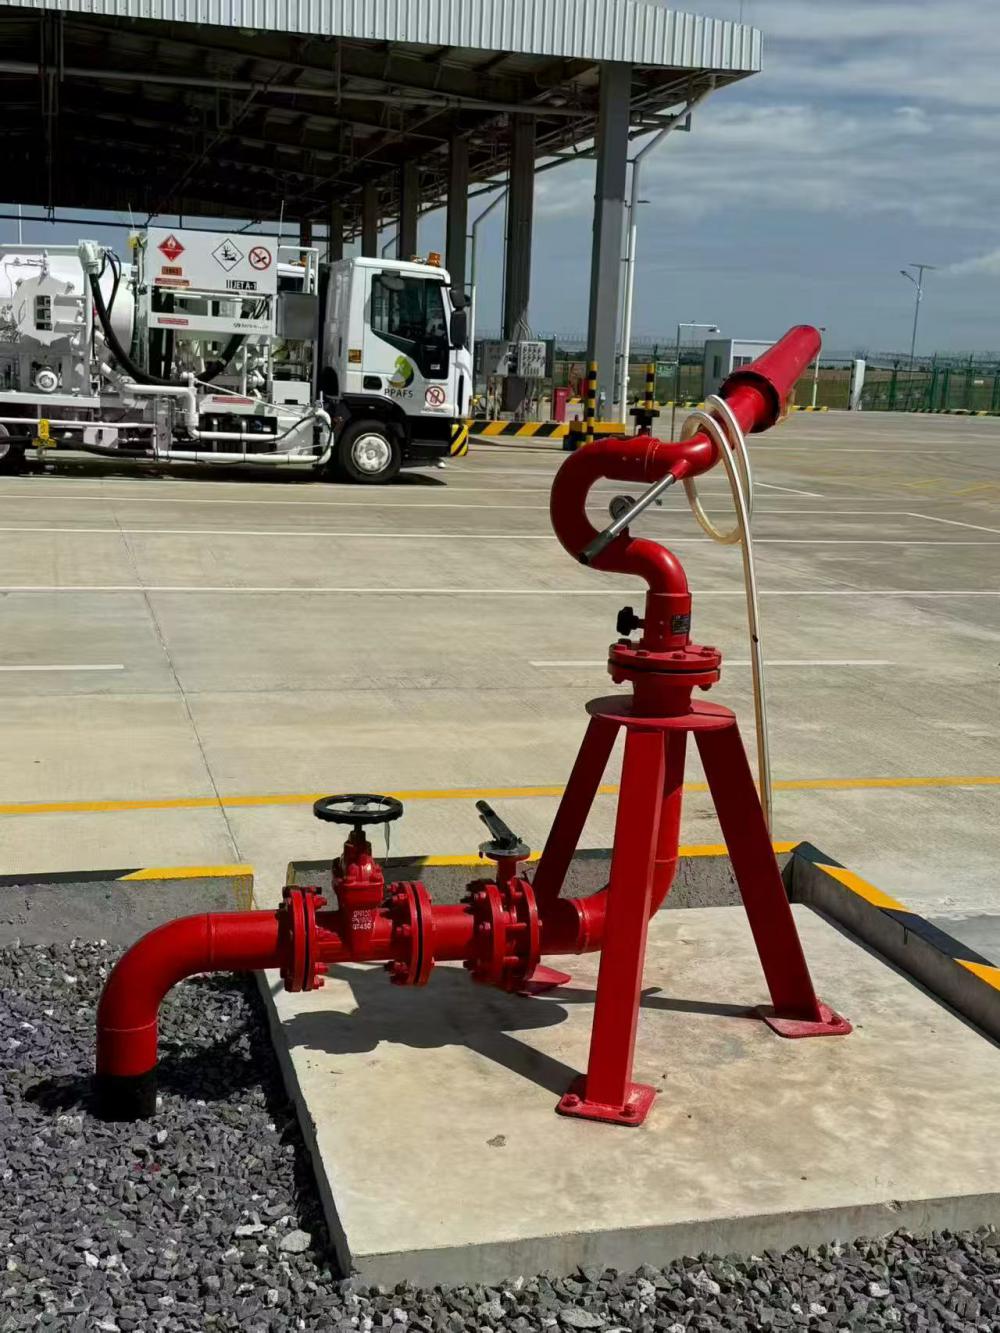
How to Test a foam fire monitor
Testing a foam fire monitor is a crucial step in ensuring its functionality and readiness for emergency operations. Proper testing ensures that the cannon performs as expected and provides maximum effectiveness in controlling fires. Below is a step-by-step guide for testing a foam fire monitor, focusing on pressure verification, water jet distance, and foam injection.

1. Check the Pressure Settings
Before starting the test, it is essential to verify that the pressure can meet the foam cannon's rated pressure. This step is critical because if the pressure is too low, the cannon may not function properly. Use a pressure gauge to ensure that the water pressure matches the cannon's specifications. Check that all connections are secure and that no leaks are present in the system.
2. Open the Valve, Then Start the Water Pump
To begin the testing process, first, open the valve on the foam cannon. This allows water to flow through the system. Next, activate the water pump to begin pumping water into the cannon. Make sure that the pump is functioning correctly and providing a consistent water flow. This step will help to pressurize the cannon's system, allowing the testing to proceed.
3. Observe the Water Jet Distance
As the pressure increases, you will begin to notice the water jet's distance increasing as well. Initially, the water will be sprayed in a relatively short distance, but as pressure builds, the spray will extend further. Ensure that the water jet reaches the expected distance specified by the manufacturer. This step tests the cannon’s ability to project water to the designated range.
4. Activate the Foam Suction Pipe (For Self-Priming Models)
If you are testing a self-priming foam fire monitor, the next step is to open the suction pipe valve. This action will trigger the Lavaux Effect, where the pressure change in the cannon’s water chamber causes the foam solution to be automatically drawn into the cannon's pipe. As the foam concentrate is pulled into the system, it will be mixed with water and expelled as foam through the cannon's nozzle.
·
Note: This process is unique to self-priming models. If you’re testing a non-self-priming cannon, the foam solution must be manually supplied by an external pump.
·
5. Shut Off the Suction Pipe Valve and Turn Off the Pump
Once the foam has been dispensed through the cannon, the next step is to close the suction pipe valve. This action prevents further foam from being drawn into the system. Then, turn off the water pump to stop the water flow. Finally, close the foam cannon’s valve to halt any water or foam from being expelled.
6. Test Completion
At this point, the test is complete. Ensure that all components, including the pressure settings, foam generation, and water jet distance, function as expected. Conduct a final inspection for any signs of leaks, mechanical issues, or irregularities in the foam spraying performance.
Conclusion
Testing your foam fire monitor is essential for ensuring that it performs efficiently during emergency situations. By following these steps—checking the pressure, monitoring the water jet distance, activating the foam suction system (for self-priming models), and turning off all components—you can verify that the system is fully operational and ready to use.
Remember to consult the manufacturer's manual for specific testing guidelines, as each foam cannon may have unique features that require specific attention.
- Optimal Placement Guidelines for Foam Fire Monitors
- Does the fire water monitor system have to set up a separate fire pipe network?
- PS30-50 Fixed Fire Monitor Reliable Firefighting Solution for Enhanced Safety
- Foam Fire Monitor Global Expertise for Chemical Plants
- Which scenarios are suitable for mobile fire monitors
- What are the requirements for the layout of automatic fire monitor


